In January, I joined a Dungeon and Dragons’ Adventurers League Meet up group in my neighbourhood, and since then I have been gaming with the Adventurer’s League on a regular basis. Through the Meet Up group, I have met a group of welcoming and friendly people. One my hobbies that was rekindled through the Adventurer’s League was painting fantasy miniatures, which are used to represent the Player Characters and Monsters on the battle maps used in our gaming sessions.
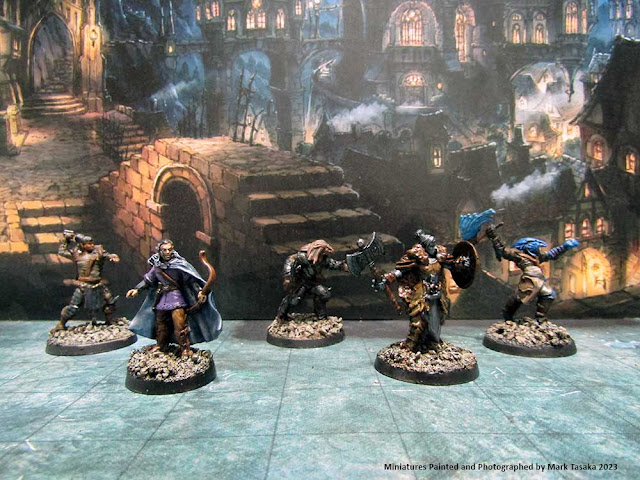
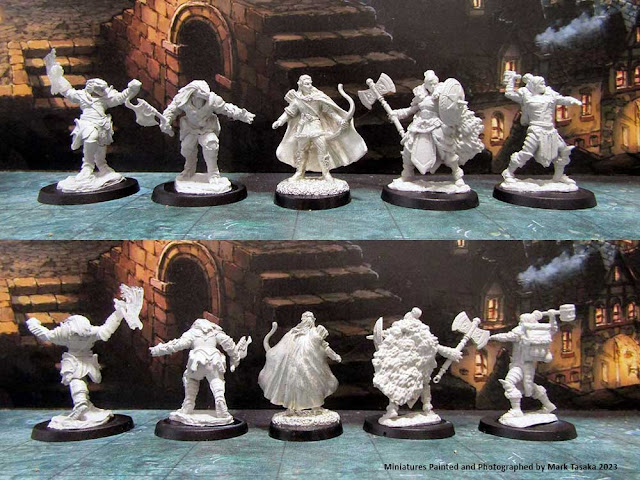
I dropped by Imperial Hobbies, my FLGS, last Friday, and picked up a group of miniatures (when painting miniatures, I typically paint figures in groups of five or six models). I purchased the following miniatures: Reaper Miniatures metal 02585 Lindir, Elf Archer; Wizkid’s Unpainted D&D Half-Orc Female Barbarian (2 miniatures per package); and Wizkid’s Unpainted D&D Dragonborn Fighter (2 miniatures). The Reaper Miniatures Elf Archer is used to represent one of my characters, a High Elf Rogue. One of the Barbarians is a gift for one of my fellow players, who is playing a Goliath Barbarian; and one of the Dragonborn is a gift for another fellow player, who is playing a Blue Dragonborn. The remaining two figures will be used as extra figures I will bring to the gaming sessions for the other players to use to represent their player characters in the game.
Painting Stage 1
The process of painting miniatures takes stages to complete, as it involves the process of layering paints, applying inks, dry brushing, added fine details to the figures, etc. In this blog post, I have photographed the different periods of painting these miniatures to illustrate the stages involved in painting miniatures.
Painting Stage 2
Painting Stage 3
Painting Stage 4
Painting Stage 5


